How to choose the right size for a statement wall print
A statement wall print can anchor an entire room, bring personality to a quiet hallway or turn a blank wall above the sofa into a proper focal point. The right size is less about choosing the largest option available and more about creating a balanced relationship between the artwork, the furniture and the room around it.
Australian homes vary widely, from compact Melbourne apartments and narrow Sydney terraces to open-plan Queensland houses and generous properties around Adelaide or Perth. Room proportions, ceiling height, natural light and rental restrictions all affect which wall art size will feel considered rather than overwhelming.
Start with the wall and the room
Begin by measuring the wall space you genuinely want the artwork to occupy. Do not measure only the visible section above a sofa or sideboard; include the surrounding breathing room. A print needs a margin around it so the wall does not feel crowded. As a general guide, leave at least 15–30 cm between the edge of the artwork and nearby corners, windows or architectural features.
For artwork above furniture, aim for a width of roughly two-thirds to three-quarters of the furniture beneath it. A 180 cm sofa will usually suit a print or framed arrangement between 120 and 145 cm wide. A narrow console may work better with a vertical print, while a broad dining room wall can carry a panoramic landscape or a pair of coordinated pieces.
Think about the character of the image as well as its dimensions. A bold abstract, dramatic black-and-white photograph or richly coloured botanical design often needs more wall space than a delicate image with plenty of white around the subject. Browsing collections such as shop by theme can help you identify whether your chosen image has the visual weight to work as a large format feature.
Use furniture as a measuring guide
Furniture provides the most reliable sense of scale. Before ordering, cut newspaper, butcher’s paper or cardboard to the proposed print dimensions and attach it to the wall with removable tape. Live with the outline for a day or two, viewing it from the doorway, the sofa and the opposite side of the room. This simple test often reveals that a size that looked huge on a product page feels modest on the actual wall.
In an Australian lounge room, a print above a low modular sofa may need to be wider than expected because the furniture itself has a relaxed, horizontal profile. In a Brisbane or Gold Coast home with high ceilings, a vertical piece can make better use of the height. For a compact flat in Melbourne, a large print may still work beautifully if it replaces several smaller decorations and keeps the rest of the wall visually calm.
Leave practical clearance beneath the artwork. Around 15–20 cm above a sofa or bedhead is a useful starting point, although the exact gap depends on the frame and the furniture height. Above a sideboard, allow enough room for lamps, vases and everyday objects without making the print look disconnected from the surface.
Match the size to viewing distance
The ideal dimensions also depend on how close people will stand to the image. A print in a hallway or stairwell is commonly viewed from only a metre or two away, so fine detail and sharp edges matter. A large photograph in an open-plan living area may be seen from across the room and needs enough scale for its subject to remain legible.
For a wall that is viewed from around two metres, a print between 60 and 90 cm wide may create a convincing focal point. At three to four metres, something closer to 100–140 cm wide often has greater presence. These are starting points rather than fixed rules. A quiet landscape can benefit from generous proportions, while a tightly cropped portrait may feel powerful at a smaller size.
Resolution becomes increasingly important as the print grows. An image that looks excellent on a phone can appear soft when enlarged, particularly if it has been downloaded from social media or heavily cropped. A professional lab can assess the file and recommend a safe enlargement. It is also worth understanding the difference between inkjet and laser prints, since the printing process affects tonal detail, colour appearance and the best finish for your image.
Choose orientation and crop carefully
The shape of the wall should guide the shape of the artwork. A horizontal print suits a sofa, dining table or long hallway, while a vertical print works naturally beside a doorway, fireplace or tall cabinet. Square artwork is versatile and can look particularly effective in a centred arrangement, but it needs enough surrounding space to avoid appearing boxed in.
Check the crop before committing to a large print. A portrait with the subject close to the edge may need additional breathing room, while a landscape with a strong horizon can lose its impact if the crop removes too much sky or foreground. Ask to see a digital proof or use an editing app to place the image over a photograph of your wall. This is especially useful for family photographs, travel images and film frames where important details sit near the border.
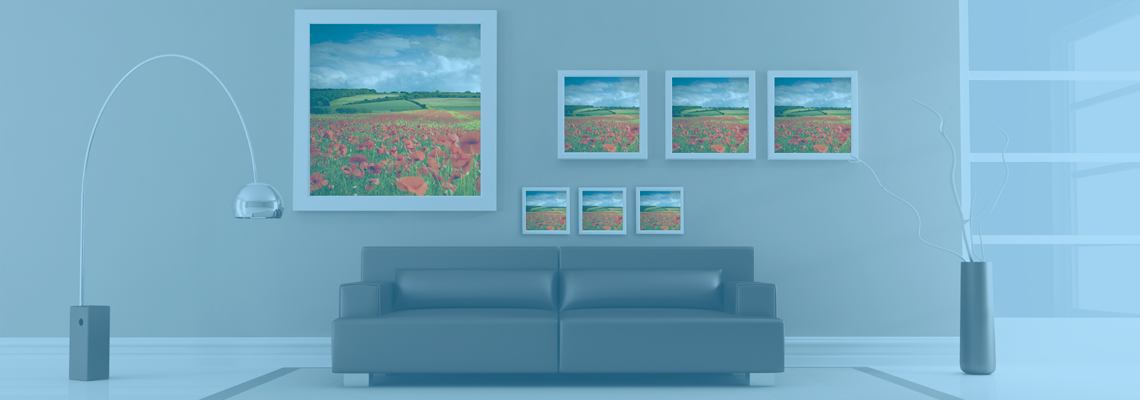
If you are combining multiple prints, calculate the total width including the gaps between them. Three 40 cm prints with 8 cm gaps form a display approximately 136 cm wide, not 120 cm. Keep the centres aligned or use the furniture below as the visual baseline. A loose salon wall can suit an eclectic Australian cottage, while a clean grid often feels right in a contemporary apartment.
A theme can also help separate images feel intentional. For instance, a collection of coastal photographs may suit a relaxed home near Newcastle, while black-and-white city scenes could complement an inner-city Sydney or Melbourne interior. Even a playful subject can work at a substantial scale; an article about fruit machines and Litecoin could inspire a colourful games-room print or a nostalgic media-wall display.
Plan the finish and installation
Size is only one part of the final effect. Gloss paper can intensify colour and contrast, but reflections may be distracting opposite a sunny window. Matte or lustre finishes are often easier to live with in bright Australian rooms, particularly in north-facing spaces or homes with large glass doors. A canvas wrap creates a softer, more casual look, while a framed photographic print generally feels more polished and protective.
Consider the wall itself before choosing a heavy frame. Plasterboard, common in many Australian houses and apartments, may require appropriate anchors or a wall stud for a substantial piece. Brick walls need different hardware, and rental properties may limit drilling. Lightweight mounting systems or leaning a framed print on a sideboard can provide flexibility, though larger pieces should still be secured where children or pets are present.
Colour temperature matters as well. Warm timber frames and cream mounts can suit older Queenslanders, Federation homes and country interiors, while black, white or brushed-metal frames often complement modern apartments. If the room already contains strong flooring, curtains or cushions, a quieter frame may let the image lead. When the decor is neutral, a saturated print can provide the needed visual lift without requiring several smaller accessories.
Before placing the order, confirm the finished dimensions rather than the image size alone. A 60 cm photograph in a 7 cm frame may occupy more than 74 cm across, and a canvas wrap may have a different visual footprint from a framed print. Measure the complete finished piece, mark that size on the wall, and stand back from the usual viewing position.
A well-sized wall print should feel connected to the room from the first glance. For most homes, the safest process is to measure the furniture, tape the proposed dimensions to the wall, check the image crop and confirm the finished frame size before ordering the print. Take those measurements in centimetres and place the full-size outline above the intended furniture as the next step.