How to Prepare Your Images for a Matte Print Finish
A matte print finish gives photographs a soft, low-glare surface with a refined, tactile appearance. It is particularly effective for portraits, black-and-white work, botanical studies, wedding images and wall art displayed in rooms with strong daylight. Because the surface scatters light rather than reflecting it, colours and contrast can appear gentler than they do on a bright screen.
Good results begin before the file reaches the printer. Screen brightness, colour space, image resolution, paper choice and sharpening all influence the final print. Whether you are preparing images for a local Australian lab or ordering professional output from a specialist such as The Photo Place, a few deliberate adjustments will help the finished photograph look intentional rather than dull.
Understand What Matte Paper Does
Matte and lustre papers reduce reflections, fingerprints and distracting hotspots. That makes them useful for framed photographs near a window, images handled in an album, or artwork viewed under ceiling lights. A matte surface can also make a print feel more contemporary and understated than a glossy photograph.
The same coating absorbs and diffuses some of the light that would otherwise create vivid contrast. Deep blacks may appear slightly softer, while fine colour transitions can look more muted. This is not a fault in the paper; it is part of its character. Images with controlled highlights, clear midtones and considered shadow detail usually adapt best.
Australian homes often receive strong natural light, especially in north-facing rooms and sunny areas of Sydney, Brisbane or Perth. A matte finish can be a sensible choice in those spaces because it limits reflections. In darker Melbourne interiors or rooms with subdued evening lighting, a matte print may benefit from a modest contrast adjustment so it retains presence on the wall.
Choose an Image With Suitable Tonal Range
Begin with an image that contains useful detail across the tonal range. A photograph with large areas of blocked shadow or pale, featureless highlights may look flatter after printing. Use the histogram as a guide, but judge the photograph itself: a low-key portrait can remain deliberately dark if the subject’s face and important textures are readable.
Before editing, duplicate the original file and work on the copy. Correct exposure and white balance first, then adjust contrast, highlights and shadows in small increments. Matte paper generally responds well to a gentle S-curve, although excessive contrast can remove subtle detail from faces, skies and fabric.
Skin tones deserve particular care. A screen can make a slightly warm image look attractive, while a matte print may reveal that the warmth has become yellow or muddy. Check neutral objects such as white shirts, grey walls and clouds, and avoid adding saturation simply because the monitor looks vivid. A restrained colour treatment often appears more polished in the physical print.
Edit Colour and Detail for Print
Use a calibrated or reasonably consistent monitor where possible, and reduce excessive screen brightness before making final decisions. Many displays are set far brighter than a print viewed in a home or studio. If the screen glows intensely, you may underexpose the file and produce a dark physical photograph.
For general photographic printing, export in sRGB unless the chosen lab specifically requests another profile. If a professional lab supplies an ICC profile for its matte paper, install it and use a soft proof in editing software. A soft proof simulates the paper’s colour and tonal limitations, allowing you to spot clipped colours or shadows before committing to the print.
Sharpening should be applied for the intended output size, not simply turned up globally. Start with capture sharpening, resize the image, then apply moderate output sharpening at the final dimensions. Fine hair, foliage and architectural edges may need a little extra definition, but halos around buildings or faces will be obvious on paper. The Photo Place’s professional finishing services can be useful when you need albums, proof sheets or carefully produced enlargements rather than a quick home print.
Set Resolution, Crop and Borders
The physical dimensions of the finished print determine the appropriate file size. For high-quality photographic output, aim for approximately 300 pixels per inch at the final size. A 6 × 4-inch print therefore needs about 1800 × 1200 pixels, while an A3 print needs considerably more. Lower-resolution files can still work at moderate viewing distances, but enlarging a small phone image too far may reveal softness.
Check the crop against the paper ratio before ordering. A camera image may be 3:2, while a common frame or paper size may be 4:3, square or panoramic. Important faces, hands, text and horizons should remain safely inside the crop. If the lab offers a “fit” or “fill” option, confirm which edges may be trimmed.
A narrow white border can make a matte print feel cleaner and provide breathing space inside a frame. It is also helpful when the image contains details close to the edge. For a full-bleed print, extend the background beyond the trim area and keep important content away from the outer edge. Australian paper conventions can add another consideration: A4 and A3 sizes are common for home printing and office frames, while imported frames may use different proportions.
Prepare Files and Display Plans
Save a high-quality JPEG at maximum or near-maximum quality, or use TIFF when the lab requests it. Flattened files are usually safer for a standard print order, while layered working files should be retained separately. Give each export a clear filename that includes the image, size and version, such as coast-portrait-A3-matte-v2.jpg.
Decide how the print will be mounted before finalising the crop. A border can disappear under a mat, and a gallery wrap or deep frame may conceal part of the image around its edges. If you are using canvas or another stretched display, read practical guidance such as safe canvas framing before placing the order, since the required edge allowance differs from a flat photographic print.
Consider the room’s humidity and exposure as well. Coastal homes in places such as Adelaide, Hobart and the Gold Coast can experience conditions that affect paper, backing and framing materials over time. Keep prints away from direct sun, damp walls and kitchens with heavy steam. UV-protective glazing, archival mounting materials and acid-free backing can extend the life of a valued photograph.
Review, Order and Compare the Finish
A small test print is often the most reliable way to assess a matte treatment. Select a section containing skin, deep shadow, fine texture and a neutral tone, then print it at or near the intended size. View it in the room where it will hang rather than judging it only under a monitor or shop lighting.
When ordering from a professional lab, check whether colour correction is automatic, whether the lab will crop to fit, and which paper surface is being used. If you have already made careful corrections, you may prefer to disable automatic adjustments. Keep the original RAW file and edited master so another size or finish can be produced later without starting again.
| Feature |
Matte |
Lustre or Satin |
Glossy |
| Reflection |
Very low |
Low to moderate |
High |
| Colour intensity |
Soft and natural |
Balanced and lively |
Strong and vivid |
| Fingerprint resistance |
Excellent |
Good |
Lower |
| Best suited to |
Fine art, portraits, framed wall prints |
Everyday enlargements and albums |
High-impact colour and display prints |
| Main consideration |
May need careful contrast |
Surface character varies by lab |
Reflections can distract |
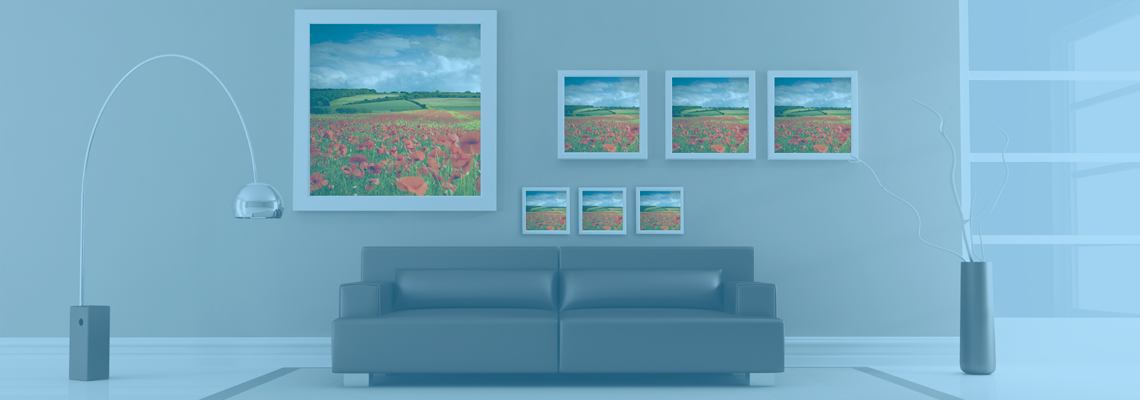
For several photographs in one room, plan the arrangement before ordering different sizes. A useful guide to mixed-size wall galleries can help you balance portrait and landscape orientations, maintain consistent spacing and choose finishes that belong together. This is especially valuable when combining travel photographs, family portraits and artwork in a single Australian living room.
Finally, confirm that you have permission to print the image. Under Australia’s Copyright Act 1968, buying a photograph or downloading it from the internet does not automatically grant permission to reproduce it. Obtain the photographer’s licence where required, particularly for business displays, client gifts or commercial wall décor. Then export one final file in the requested colour space, inspect it at 100 percent, and place the matte-print order using the exact dimensions and crop you have approved.