How to Print Photos on Acrylic for a Modern Look
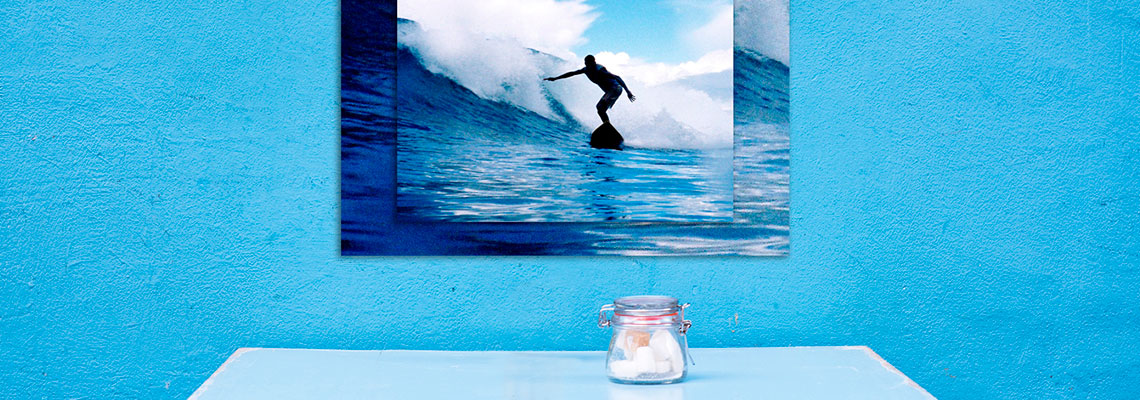
Acrylic photo prints bring a clean, contemporary finish to images that might otherwise look ordinary in a frame. The photograph is printed directly onto a clear or white acrylic panel, or mounted behind the sheet, creating a glass-like surface with strong colour, sharp detail and visual depth. This style suits family portraits, coastal landscapes, wedding images and abstract artwork.
The material works especially well in modern Australian interiors, where open-plan rooms, pale walls and natural light are common. A glossy acrylic panel can brighten an apartment in Sydney or Melbourne, add polish to a Brisbane hallway, or give a beach photograph extra depth in a home near the Gold Coast. The right image, finish and placement matter as much as the print process.
A professional finishing lab can help with file preparation, cropping, colour correction and mounting choices. The Photo Place has supported photographic printing and finishing since 1983, offering options for personal photographs, professional portfolios and decorative wall pieces through its online photo services.
Choose An Image With Strong Visual Structure
Acrylic works best when the photograph has clear subject separation, defined shapes and enough detail to remain attractive at a larger size. Images with bright skies, saturated flowers, city lights or reflections often benefit from the medium because the surface adds intensity and depth. Black-and-white photography can also look striking, particularly when the image contains strong contrast and architectural lines.
Consider how the picture will look without a traditional mat or frame. A tightly cropped portrait may feel powerful in a small panel, while a landscape generally needs more width around the main subject. Images intended for acrylic wall art should have a clear focal point and avoid excessive visual clutter around the edges.
For older family photographs, careful restoration may be needed before printing. Scratches, faded colours and dust marks can become more visible on a glossy surface. A lab can often scan, retouch and resize a film or print original before producing the final wall display.
Prepare The File Before Printing
The image file should be large enough for the selected dimensions. A small web image may look acceptable on a phone but become soft or pixelated when enlarged. Original camera files, high-resolution scans and carefully exported editing files are better choices. As a general guide, aim for around 200 to 300 pixels per inch at the finished size, while recognising that viewing distance affects the practical requirement.
Crop the image to the panel’s aspect ratio before ordering. A photograph shaped for a 4:3 camera frame may lose important details when changed to a wide panoramic format. Keep faces, hands, text and other essential elements away from the outer edges, especially if the acrylic will have polished corners or mounting hardware.
Colour management is also important. Save the final file in a widely supported colour space, such as sRGB, unless the printer provides different specifications. Avoid repeatedly converting between formats, and check that the image does not contain clipped highlights or blocked shadows. A calibrated screen gives a more reliable preview than a bright phone display.
Select The Acrylic Style And Finish
Clear acrylic allows the wall colour to influence the lighter areas of the image. This can create an airy, luminous result, but it may reduce the accuracy of pale backgrounds. White-backed acrylic gives the picture a more solid base and usually produces stronger whites, deeper colour and a more consistent appearance.
Gloss acrylic offers maximum shine and visual impact, although it can reflect windows, downlights and indoor lamps. A matte or satin finish reduces glare and may be easier to view in a bright Australian living room. Gloss is often effective in dimmer hallways or gallery-style spaces, while satin can be more practical in rooms with large north-facing windows.
Thickness affects both appearance and mounting. A slimmer panel can suit small decorative prints, whereas a thicker sheet gives a substantial, gallery-style feel. Ask about polished edges, rounded corners, float mounting and hidden cleats. These details determine whether the finished piece appears lightweight and discreet or bold and sculptural.
Match The Print To Its Room
Before choosing dimensions, measure the wall and mark the proposed print with painter’s tape. This simple step shows whether a 40-by-60-centimetre panel will feel balanced above a console or whether a larger 60-by-90-centimetre format is needed above a sofa. Use centimetres when planning the display, as metric measurements are standard for Australian interiors and local framing services.
Light direction should guide the placement. A panel directly opposite a window may produce distracting reflections, especially with a high-gloss surface. In a Melbourne terrace or Sydney apartment, a slightly angled wall can provide a better viewing position than a flat wall facing glass doors. In sunny Queensland homes, avoid locations exposed to intense direct sunlight for much of the day.
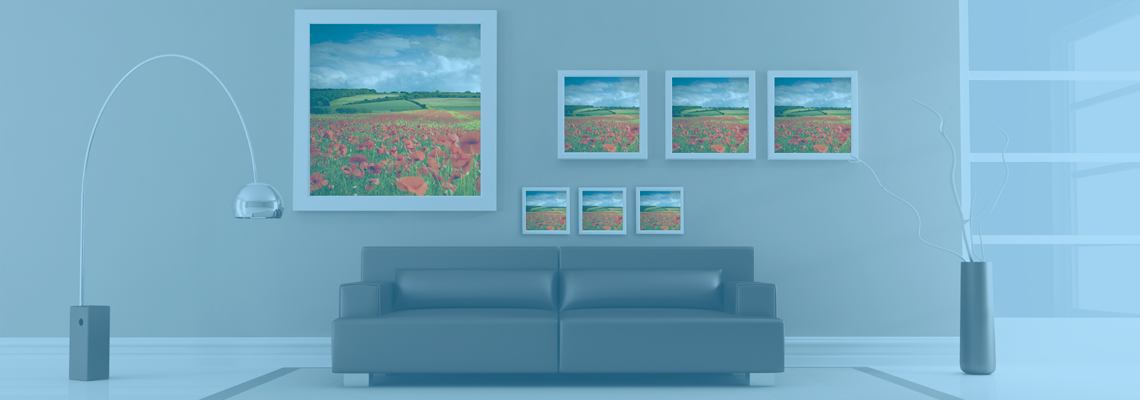
Acrylic suits contemporary spaces with timber, concrete, white cabinetry and simple furniture. It can also provide contrast in a more traditional home, where an unframed panel creates a deliberate modern accent. Group several small panels only when the images share a colour palette or subject; unrelated pictures can make a clean room feel visually busy.
Compare Acrylic With Other Modern Media
Acrylic is often chosen for its luminous surface and sense of depth, but it is not the only contemporary wall-print option. Metal prints have a sleek, reflective appearance, strong colour and excellent durability, making them useful for travel photography, graphic images and minimalist interiors. A comparison of metal print benefits can help clarify which surface better suits the image and room.
Canvas has a softer, textured appearance and usually reduces reflections. It may be a better choice for painterly portraits, rustic interiors or rooms where glare is difficult to control. Traditional photographic paper behind glass remains versatile and can be easier to replace, while acrylic provides a more pronounced contemporary effect.
Budget should include more than the print itself. Consider delivery, wall hardware, packaging and professional installation for large panels. Australian buyers should also check whether quoted prices include GST and whether interstate freight or remote-area delivery adds to the total. Clear ordering information helps prevent unexpected costs.
Care For Acrylic Wall Art
Acrylic is durable, but its surface can scratch if cleaned with paper towels, rough cloths or household products containing ammonia. Use a clean microfibre cloth and, when necessary, a small amount of acrylic-safe cleaner. Remove dust gently rather than rubbing grit across the panel.
Keep the print away from heaters, fireplaces and areas with repeated condensation. Bathrooms and kitchens may expose the mounting system and edges to moisture, while strong ultraviolet light can gradually affect any photographic print. UV-resistant production and sensible placement can help preserve colour over time.
For a large panel, use the recommended wall anchors and make sure the fixing point suits the wall type. Australian homes may have plasterboard, brick, concrete or lightweight partition walls, each requiring different hardware. A professional installer is worthwhile when the panel is heavy, valuable or positioned above furniture.
Practical Recommendations For A Refined Result
Use these decisions as a simple checklist before placing an order:
- Choose a high-resolution original rather than a compressed social-media download.
- Crop the image to the final panel ratio before approving the proof.
- Select white backing for accurate whites and clear backing for a translucent effect.
- Prefer satin acrylic where windows or ceiling lights create strong reflections.
- Measure the wall in centimetres and test the proposed size with paper or masking tape.
- Confirm GST, delivery charges, mounting hardware and turnaround times before payment.
- Keep the finished panel away from direct sun, heat and abrasive cleaning materials.
Professional photographers can also use acrylic for exhibition prints, client presentations and distinctive portfolio pieces. A proof sheet or colour-managed test print may be useful when skin tones, fine gradients or brand colours must be accurate. If the source image is on film, specialist film developing and scanning can turn an analogue negative into a suitable high-resolution file for large-format output.
Make The Finish Part Of The Photograph
The best acrylic display feels intentional because the image, surface and room work together. A high-key beach scene may benefit from clear acrylic and soft daylight, while a dramatic city image may need white backing and controlled directional lighting. Portraits often look more natural with reduced glare, particularly when viewers will stand close to the panel.
Think about viewing distance as well as wall size. A print above a dining table may be seen from several metres away, while a small panel near a staircase is inspected at close range. Sharp detail, edge finishing and mounting quality become increasingly important as people move nearer to the artwork.
Acrylic photo printing is most successful when treated as a complete display decision rather than a simple paper replacement. Start with a strong file, select the backing and sheen carefully, plan for Australian light and room conditions, and use secure hardware. What the reader should remember is that a modern acrylic print looks its best when the photograph, finish, scale and placement are chosen as one cohesive design.