How to choose the right white border for your prints
A white border gives a photograph visual breathing space. It separates the image from the paper edge, reduces crowding and can make a composition feel deliberate. The same border can weaken a strong image if it is too wide, stark or unrelated to the frame. A suitable choice balances proportion, paper colour, mounting method and display setting rather than following one universal rule.
Australian print sizes make precise planning useful. Shops commonly use A-series paper and photo sizes such as 4R (10 × 15 cm), 5R (13 × 18 cm) and 6R (15 × 20 cm), while larger frames may take A3, A2 or 30 × 40 cm prints. Measure the finished image as well as the frame because the border consumes space, and include the final dimensions in the order.
Professional labs treat these choices as part of the artwork. The Photo Place, a photo finishing lab in Youngstown, Ohio, has provided film developing, digital printing and large-format prints since 1983, illustrating how crop, print area and presentation work together. The same care applies to passport photos, proof sheets, albums and gallery-wall prints: leave only the space that supports the image and its intended use.
See the border as part of the composition
First, decide whether the white area is printed into the image or supplied as a separate mat. A printed border becomes part of the digital file and physical sheet; a mat is removable board fitted in the frame. A printed border travels with the print and suits a ready-to-frame piece. A mat can protect the image, accommodate a larger frame and be changed later.
White space can clarify edges and guide the eye. A narrow line can stop dark foliage or architecture merging with the frame, while a broader border creates a formal, archival character. Equal space on all sides makes an image feel balanced; uneven space can pull attention towards one edge.
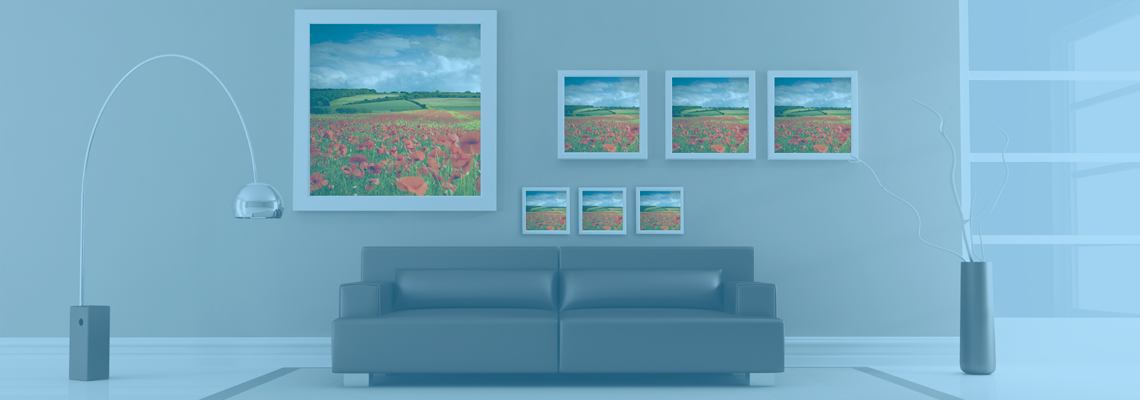
Consider the room as carefully as the picture. Above a sofa, an even border often settles into the furniture line; in a hallway gallery wall, matching widths help several prints read as one arrangement. Compact urban homes in Sydney, Melbourne and Brisbane often favour grouped displays rather than one oversized print, where restraint usually works better than a border that competes with the image.
Measure the image and the surrounding space
Begin with the final paper size and work inward. Decide whether the image should be full bleed, nearly edge to edge or surrounded by white. Compare its ratio with the paper ratio: a panoramic scene may suit a cropped A3 sheet better than a boxed image, while a square portrait tolerates more space because its geometry is stable. Remove distractions before adding the border.
Treat width as a starting range, not a formula. Around 4–6 mm per side suits many 4R prints; 6–10 mm gives 5R and 6R prints more breathing room; larger A3 or 30 × 40 cm prints can carry 10–15 mm. As a proportional check, aim for a width on each side near 4–6% of the image’s shorter side, then adjust for the composition and frame.
Scale depends on viewing distance. A small print on a kitchen bench needs only fine separation, while a print across a lounge benefits from enough margin to remain clear from several metres away. If a subject sits close to an edge, add slightly more space there or recrop it rather than making the border feel mechanically uniform.
Match the border to the frame
Match the border to the frame opening, not the frame’s outer size. Dark timber, thin black and white moulding create different boundaries. Against dark wood, white supplies crisp contrast; against white moulding, a warm-white or lightly textured mount gives separation. The frame should support the photograph without turning the border into a competing frame.
With a separate mat, check the window and reveal. The opening should frame the image cleanly, while the board overlaps the print by a few millimetres behind so no white edge peeks through. Deep matting creates a floating effect but increases visible board and can make a modest photograph appear smaller. Compare the opening with the image at actual size before ordering.
White colour matters as much as width. Bright paper white beside sepia feels sharp and modern; beside cool blue or grey it can look stark. A slightly warm white can soften a cool-toned print, while neutral white preserves a clean gallery finish. Use one consistent white across a grouped set because small shifts in paper tone show under the same lighting.
Plan for paper, light and mounting
Paper and finish change how a border reads. Glossy white can catch reflections and appear brighter than the image, while matte or lustre finishes spread light more evenly. Fine art paper often gives a softer white for portraiture; a smooth gloss may complement a vivid commercial photograph. Judge a sample or proof, not a small screen preview.
Plan for Australian conditions. Strong sunlight and UV can fade inks and photographs, particularly in bright rooms in Sydney, Melbourne and Brisbane, while coastal humidity and temperature changes can affect paper and frames. UV-filtering glazing, an archival mat and a frame that does not touch the print reduce risks. Keep work away from direct afternoon sun.
Material quality also matters. Specify acid-free, lignin-free matboard and ask about archival pigment inks when longevity is important. Check albums, framed photographs and proof sheets under the room’s normal lighting. For valuable originals, keep an unframed copy instead of relying on one finished item. Before ordering a personalised product, browsing photo gift options shows which formats preserve a full print and which crop to the product edge.
Check how the finish changes the edge
Alternative finishes use the edge differently. Canvas wraps the image around a rigid core, so a white border may become a printed field rather than a true mat. Metal places the image on a rigid panel, and the border may be simulated or replaced by a physical mount. The canvas versus metal prints guide explains how construction affects sharpness, colour, reflections and scale on a wall.
Keepsakes also use different edges. Before placing a photograph on a mug, cushion or album, decide whether its white surround should support the design or vanish into the product. Check whether the maker crops to the panel, prints edge to edge or preserves the full file, and establish who controls the final border treatment.
Australian online and retail photo markets offer canvas, acrylic, metal and framed prints for homes and commercial walls, along with calendars and personalised gifts. A border that looks elegant in a standard frame may become awkward on a panoramic canvas or calendar grid. Review each product’s edge treatment in a proof or physical sample rather than a generic mock-up.
Apply a practical selection checklist
A dependable choice comes from comparing a few options under the same conditions:
- Start at 4–6 mm for 4R, 6–10 mm for 5R or 6R, and 10–15 mm for larger A3 or 30 × 40 cm prints.
- Match a mat window to the photograph and confirm the rear overlap before ordering.
- Recrop tight compositions or give them slightly more space while keeping the overall border balanced.
- Choose the border and paper tone together so both support the image’s colour.
- View an actual-size proof in the intended room and lighting before approving a batch.
- Confirm that the image remains uncropped and the finished size fits the frame opening.
- Request a proof sheet for albums, gallery walls and professional client work.
If two widths both work, choose the narrower one unless the photograph has a busy perimeter or the room calls for a formal finish. The best border separates without hiding, frames without competing and fits the way the print will actually be used.
Review the whole order before production
Keep the order details and consumer protections clear. Under the Australian Consumer Law, goods and services must meet consumer guarantees, and suppliers must not make misleading claims about colour, dimensions, materials or delivery. Record whether the border is printed or supplied as a mat, plus the finished size, paper type and delivery method. This record is useful if an online order needs correction.
Products with multiple images need one final consistency check. A themed photo calendar can place crops into fixed cells, so inspect the white space between images, the outer margin and the safe area around dates. Apply the same review to albums and multi-panel wall displays, where small differences in alignment, image scale or border width can disrupt a coordinated collection.
Produce one final-size proof with a 10 mm white border, place it in the intended frame in the final room, and view it from the normal viewing distance before approving the production order.