How To Create A Gallery Wall That Feels Like Home
The best ways to create a gallery wall in your home begin with a clear idea of how you want the space to feel. A carefully arranged collection can bring family photographs, travel memories, artwork and everyday moments together without making a room look crowded. It can also turn a blank hallway or stairwell into a personal feature that changes how people move through the house.
For Australian homes, the approach needs to suit local architecture and living habits. A compact Sydney apartment may need a slim vertical arrangement, while a Melbourne terrace can accommodate a longer salon-style display. In Brisbane, strong sunlight and humidity make print quality, framing and placement especially important. The right combination of images and materials will help your wall remain attractive for years.
Choose A Clear Visual Story
Start by deciding what connects the pieces. A family wall might include wedding photographs, school portraits, holiday snapshots and images of children growing up. Another collection could focus on landscapes, black-and-white street photography, botanical illustrations or artwork gathered from travels around Australia.
A consistent story does not require every frame to match. The relationship can come from colour, subject, era or mood. For example, photographs from the Great Ocean Road, Sydney Harbour and the Blue Mountains can work together when they share a similar treatment. A gallery of film images can also look cohesive when each print has the same warm tones and border style.
If the wall is designed around a major family milestone, include a mixture of formal and spontaneous images. A graduation portrait can sit beside a childhood photograph, a handwritten note or a favourite family scene. Ideas for a graduation photo keepsake can be adapted into a larger display, giving the finished arrangement more emotional depth than a row of standard portraits.
Plan The Layout Before Hanging
Measure the wall, then mark its usable area with painter’s tape. Lay the frames on the floor and experiment with different combinations before making holes. Photographing each option from the doorway is useful because an arrangement that looks balanced up close may appear too heavy from across the room.
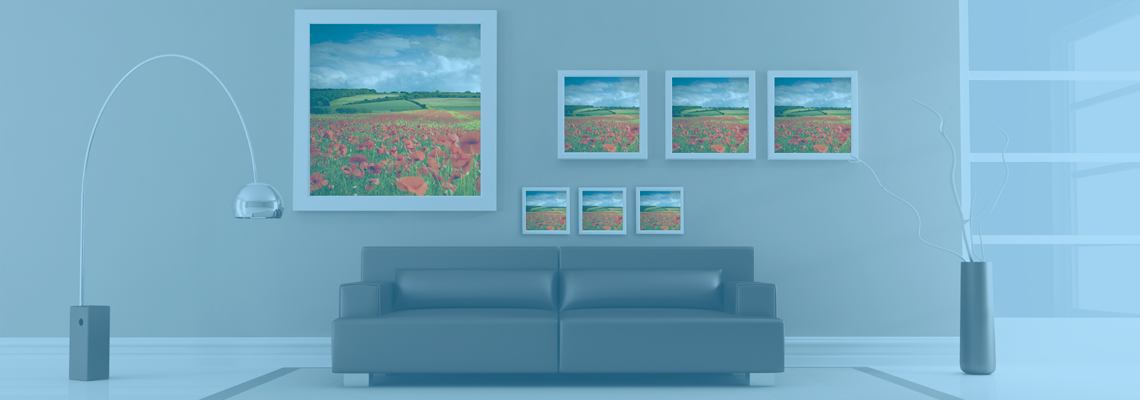
Begin with the largest or most important piece and build around it. A central image can be supported by smaller frames, while two large prints can anchor opposite ends of a horizontal display. Keep the outer edges visually balanced, even if the spaces between individual frames vary slightly.
For most homes, a gap of around five to eight centimetres between frames feels connected without looking cramped. Smaller gaps suit a compact photo grid, while wider spacing gives large-format prints room to breathe. In a rental property, removable hanging strips or a picture ledge can reduce wall damage, particularly in a Sydney apartment where flexibility is valuable.
Mix Frames, Sizes And Print Styles
A gallery wall becomes more interesting when it includes several print sizes. Pair an enlarged landscape with 10-by-15-centimetre family photographs, square images and a few smaller details. Australian A-series formats such as A4 and A3 are practical choices because they are easy to print, mat and replace.
Frame variety can add character, but too many unrelated finishes may make the wall appear unsettled. A useful formula is to choose one dominant material, such as light timber or black metal, then add one supporting finish. White mats can unify photographs with different colours, while full-bleed prints create a more modern look.
Print surface also affects the result. Lustre paper reduces glare and suits rooms with windows, whereas a matte finish gives portraits and artwork a soft, contemporary appearance. Gloss can make saturated travel photographs stand out, though it may reflect overhead lighting. Professional photo labs can help with colour correction, border choices and large-format output before you commit to framing.
The Photo Place, a professional lab serving the Youngstown, Ohio area, provides film developing, digital printing, wall décor and finishing services for photographers and families. Its range of albums, proof sheets, framed prints and personalised products reflects an important principle: the print should be selected for the way it will be displayed, rather than treated as an afterthought.
Use Colour And Theme With Restraint
Colour is one of the simplest ways to connect separate images. Choose two or three tones that already appear in the room, then look for photographs or artwork that echo them. A coastal collection might use sand, blue and charcoal, while a native botanical display could combine muted green, ochre and cream.
Rooms with strong natural light need careful placement. In a Brisbane home, direct sun can gradually fade photographs, especially near large windows or sliding doors. UV-protective glazing and archival-quality prints provide better protection than ordinary glass. Rotating seasonal images can also reduce prolonged exposure and keep the display feeling fresh.
A themed wall can be playful without becoming visually noisy. In a games room, saturated colour, repeated shapes and illuminated lettering may create an energetic look; a pokies technique can provide a reference for using contrast and repetition in an Australian entertainment setting. Keep the strongest pattern in one area and give surrounding photographs quieter borders.
For a more theatrical arrangement, use lighting as part of the design rather than relying on a ceiling fixture. A narrow picture light or adjustable track lighting can create a focal point. A casino-inspired display might borrow the layered colour approach seen in a bonus flood feature, while still keeping the photographs themselves personal and appropriate for the room.
Match The Display To The Room
The best location is one where the wall can be seen regularly. Hallways, stair landings, dining areas and the space above a sofa are popular choices. A collection placed in a passage should have secure fittings and shallower frames, while a living-room feature can support deeper moulding, canvas or a statement print.
The height should relate to the people using the room and to nearby furniture. In a lounge, the lower edge of the arrangement generally sits above the sofa with enough clearance to avoid accidental contact. In a hallway, place the centre of the display near eye level and check the view from both ends of the space.
Consider how the wall will look when the room is occupied. A dense arrangement above a busy bookshelf may feel cluttered, while a simple vertical line beside a staircase can guide the eye naturally. Leave enough breathing space around the collection so it appears intentional rather than squeezed into an available patch.
Personal photographs do not have to dominate every frame. Add a scanned recipe, a child’s drawing, a ticket from a memorable trip or a small piece of textile. These details are especially effective in Australian homes where indoor and outdoor living overlap; a wall near a verandah or dining area can connect family life with places visited together.
Print For Longevity And Easy Changes
Before ordering, check the resolution of every digital file. A photograph that looks sharp on a phone may appear soft when enlarged. Professional printers can often assess the file, suggest a suitable size and make adjustments to brightness or colour. This is particularly useful for older scans, mobile-phone images and film negatives.
Film photography brings extra possibilities to a gallery wall. Negatives can be developed, scanned and printed at several sizes, allowing one memorable frame to become a large centrepiece while supporting images remain smaller. Mail-in processing can also help people who live outside a specialist retail area or who prefer to send a collection together.
Use acid-free mats and backing where possible, especially for sentimental photographs. Avoid placing prints directly against unsealed timber or damp exterior walls. In humid areas, allow air circulation and inspect frames occasionally for condensation or mould. Good mounting materials are a practical investment when the display includes irreplaceable family images.
A gallery wall should also be easy to update. Design the initial layout with a few spare spaces, or use a ledge where photographs can be changed without rehanging the entire collection. New family portraits, holiday prints and annual school photographs can then become part of the arrangement without disrupting its overall balance.
A successful display feels collected rather than manufactured. Select images that still hold meaning, repeat a small number of colours or materials, and test the arrangement before fixing anything permanently. For a straightforward starting point, choose one large print, five to seven smaller pieces, a consistent mat colour and a measured gap between each frame. Print the photographs at the final sizes, place every item on the floor first, and hang the centrepiece before working outward.