The best ways to display a single large print in a room
A single large print can give a room an immediate focal point, but size alone does not make a successful display. The photograph needs enough space to breathe, a setting that supports its subject, and a position that feels connected to everyday life rather than stranded on a wall.
The most effective large photo display ideas focus on proportion, light and context. One strong image can define a lounge, soften a dining area or give an entryway a more memorable sense of arrival. Used well, it becomes part of the room’s architecture instead of looking like an object added later.
Before choosing a frame or ordering a print, measure the available wall, note the furniture and observe the light at different times of day. This simple preparation prevents a beautiful oversized image from overwhelming the space or competing with an existing focal point.
Start with the room’s character
Begin by identifying what already commands attention. A television, fireplace, tall windows or even a strong architectural niche may be the room’s natural anchor. The print should complement that hierarchy, not fight it for attention, and it should suit the way people move through the space.
Australian rooms vary from open-plan living areas in Brisbane to compact Sydney apartments and character-filled Melbourne terraces. Many feature rendered walls, brick veneer or a raised fireplace surround, and those materials change how an image feels at scale. A large-format photograph can soften brick and masonry, while a pale timber frame may complement a bright coastal interior.
Decide what emotional role the artwork should play before selecting its image. A calm landscape can make a busy family room feel more settled, while an energetic street scene can give a restrained dining space some character. In casual decorating conversation, Australians often describe a successful interior as “a beaut” or say it feels like “your own”; either phrase is worth testing against the finished display.
Choose a wall that gives the print room
An uninterrupted wall usually offers the cleanest presentation, particularly when the photograph has bold edges or a strong landscape. It does not have to be the largest wall in the room. A narrower surface beside a fireplace or above a sideboard may provide a better balance if the surrounding furniture already creates visual weight.
Think about what sits below the artwork. Above a sofa, allow roughly 15 to 25 centimetres between the top of the backrest and the lower edge of the frame. In a dining room, keep the lowest part of the print clear of the back of chairs so it remains visible when people are seated. For a console or entry table, centre the image over the furniture rather than simply over an empty patch of wall.
Australian sunlight deserves special attention because north-facing windows can deliver strong ultraviolet exposure, particularly in summer. Colours may fade, and reflections can make a glossy print harder to read. Position the artwork away from direct beams where possible, and ask a framer about UV-filtering acrylic glazing if the wall receives regular sunlight.
Match the print’s scale to the room
A large photograph should feel generous without becoming visually crowded. As a starting point, the print or frame can occupy around two-thirds to three-quarters of the usable wall width. Above a sofa, matching its width to roughly two-thirds of the sofa is often balanced, while a narrower portrait works well against a tall wall.
Ceiling height matters as much as floor area. A very wide print can look small in a room with a high ceiling, and an oversized vertical image may feel compressed in a low apartment. Leave enough negative space around the work to make it feel intentional. The aim is not to fill every gap but to establish a clear relationship between the artwork, the furniture and the room’s proportions.
The Photo Place, a professional photo-finishing laboratory in Youngstown, Ohio, has supported photographers since 1983. For a made-to-measure large-format print, contact the lab with the wall measurements and intended image proportions so the finished dimensions can be checked before production.
Frame the image to suit the architecture
The frame should support the photograph without competing with it. A frameless acrylic presentation creates a clean, contemporary look, while a slim timber frame can warm up an industrial room or echo natural materials. Deep shadow-gap frames add separation and dimension, especially when the subject is a distant landscape or an architectural image.
The Australian custom-framing market combines ready-made frames in common centimetre sizes with made-to-measure work from picture framers and joiners. Natural oak, black metal and painted finishes are all practical options, but colour should come from the room rather than the latest trend. Test frame samples against the wall at different times of day, because lighting can make subtle differences much more obvious.
Protection matters as the print becomes part of the home. UV-filtering acrylic offers useful clarity and is lighter than ordinary glass, making it suitable for an oversized work. In humid locations, including parts of Queensland and northern Australia, archival-quality glazing, suitable backing and stable mounting can help reduce the effects of moisture and temperature changes.
Light the print without flattening its detail
General room lighting should establish the atmosphere, while a focused picture light can reveal texture, tonal range and colour. Spotlights placed above and slightly in front of the artwork often work better than fittings directly overhead, which can create glare. A narrow beam keeps attention on the photograph without turning it into a stage set.
Warm-white LED lamps around 2700 to 3000 kelvin usually complement timber furniture and create a welcoming tone in Australian living rooms. Fittings with high colour rendering reveal skin tones, natural greens and subtle shades more accurately. Dimmable lights are useful because a photograph can need stronger illumination for detailed areas while the rest of the room remains softly lit.
Check reflections before installing the light. Glass and acrylic can mirror windows, television screens and bright doorways, particularly when the artwork faces north or west. Adjust the angle of the fitting rather than relying on very bright lamps, and use separate controls so the print can be highlighted after sunset without overpowering the room.
Place it within the rhythm of daily life
Position the artwork where the eye naturally pauses. The route from the front door into an open-plan living space may guide attention towards a large print above a console, while a dining room can benefit from an image close to the point where people sit and talk. A bedroom works well with a calm portrait or landscape placed opposite the bed, provided it remains visible from the doorway.
Contrast can make one element organise everything around it. A deep shadow beside a bright sky may make the lighter area feel more expansive, while the visual multiplier effect provides a useful comparison for how a small visual cue changes the perceived impact of a larger composition. That same principle makes a single strong photograph capable of anchoring an entire wall.
Keep the print away from heat, moisture and moving air where practical. Fireplaces, heaters, air-conditioning vents, damp pool areas and coastal spray can affect both the frame and the photograph. In rental properties, check the agreement before drilling and consider removable mounting for a lighter framed print.
Complete the display with care
Use a paper template to mark the intended position, then view it from the doorway and from the main seating area. The outline reveals the real visual weight of the artwork before holes are made. Large or heavy works should be fixed into suitable wall hardware, with cables kept away from electrical services, and a qualified installer can reduce the risk of damage or misalignment.
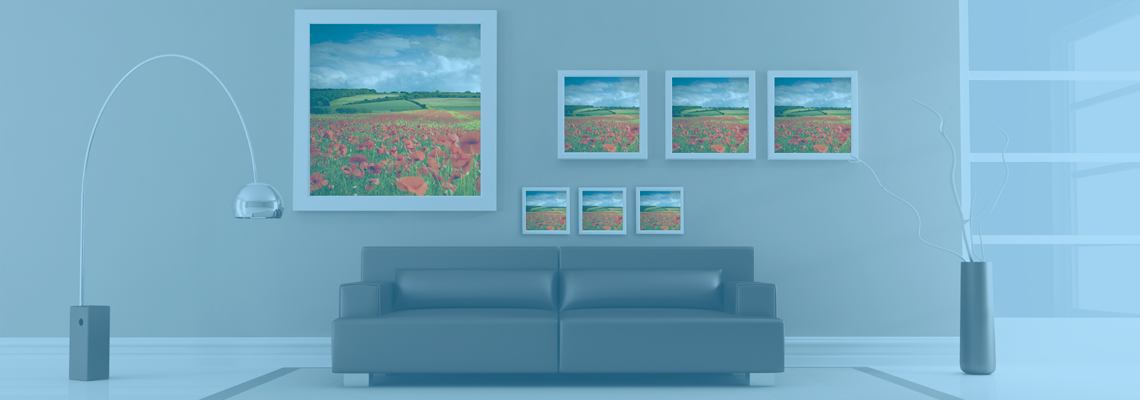
Give the wall some breathing space after installation. One substantial print rarely needs a dense cluster of smaller frames around it; removing nearby pieces can strengthen its presence and make the furniture arrangement feel calmer. Check the composition with lamps on, curtains open and normal household clutter present, since those everyday details will influence the final result more than an empty room.
The practical takeaway is simple: measure the wall, match the print to its proportions, protect it from direct sunlight and place it where daily movement naturally draws the eye. When those decisions work together, one large photograph can make an Australian home feel complete without making it feel overloaded.