How to create a custom photo coaster set for your living room
Custom photo coasters turn a familiar drink table into a small, personal gallery. They work best when the images share a theme, palette or visual rhythm, because each coaster is seen briefly and often at an angle. The goal is not to squeeze a favourite photograph onto a disc; it is to create a set that feels deliberate beside the furniture and still feels recognisably yours.
A sound production partner matters once the designs are chosen. The Photo Place is a professional photo-finishing lab in Youngstown, Ohio, serving customers since 1983 with digital and large-format printing, personalised photo products and mail-in film processing. Its online service is accessible for suitable print or gift orders, while Australian customers should check templates, supported products, international postage and turnaround before committing a whole set to production.
The room should shape the design before the software does. Compact living areas in Sydney and Melbourne often place the coffee table within a multipurpose family room, while suburban homes may combine lounge furniture with a sideboard. That means the coasters may need to look good beside both sofas and dining chairs, and they should remain readable when people reach for a drink rather than sit directly in front of them.
Local conditions are equally important. Brisbane homes can receive strong sunlight and humid air, while many Australian families mix travel snapshots, school portraits and pet pictures with bought wall art. Shoppers often compare local studios, online marketplaces and specialist printers for custom gifts, then expect tracked postage and a clear delivery date. These details favour a restrained set, durable materials and images that can withstand repeat handling.
Choose a theme that belongs in the room
Begin with one broad idea: a family year, a favourite Australian landscape, a trip, pets or a sequence of portraits. A theme gives separate photographs a reason to belong together and makes the set easier to expand. Avoid giving every coaster a different subject simply because each image is appealing. Five or six coordinated pictures usually feel calmer on a coffee table than a crowded mix of unrelated colours and subjects.
Set the theme against the room’s dominant finishes. If the table is warm timber and the upholstery is charcoal, earthy landscapes or monochrome portraits may settle naturally. For a white table in a bright apartment, clean graphic crops and stronger blocks of colour can work better than pale, detailed scenes. Choose the palette first, then edit each image toward it while preserving natural skin tones and individual character.
Select and edit images that read at coaster scale
Make a shortlist of two or three options for every intended coaster, then test them as a contact sheet. At roughly nine to ten centimetres across, a coaster rewards a clear face, simple silhouette or bold shape. Fine foliage, distant horizons and tiny background details can disappear, so crop closer and ask whether the image still communicates when viewed from standing height across the room.
Keep the best full-resolution original and correct framing rather than enlarging a small web image unnecessarily. For family pictures, check expressions, distractions and skin colour on a properly calibrated display. Film users should avoid damaging a treasured original: laboratory guidance on repairing a scratched negative explains how careful cleaning or scanning can preserve visible detail before a new print is made.
Plan the size and arrangement
Coaster dimensions differ between manufacturers, so measure an existing coaster or the intended tray before designing. Square, round and shaped formats each change the crop, and templates may require artwork to reach every edge. At 300 pixels per inch, a 100-millimetre square needs about 1,180 pixels on each side; preparing a larger file gives the printer room for small adjustments without making the image look soft.
Think about where the set will live. Leave enough table space for cups, remotes and serving boards, and avoid a formation so tight that every coaster is always occupied. An odd-number arrangement can feel informal, while a straight row suits a narrow console. In a multipurpose Australian family room, a set that can be moved easily is often more useful than one optimised only for a staged photograph.
Check colour, contrast and fine detail
Export in sRGB for a broadly compatible file unless the printer specifies another colour space. Gentle contrast can help small images, but aggressive clarity, saturation or sharpening may create halos around faces and brittle-looking edges. Make one subtle edit per image, keeping the same visual treatment across the set. A white border can soften the transition to a pale coaster, whereas a full-bleed image gives the group a bolder, gallery-like presence.
Review a proof or sample at actual size under the room’s lighting. Warm evening lamps can make neutral colours look yellow, and bright daylight can reveal both fading and unwanted reflections. If the coasters will sit near a sunny window in Brisbane, an opaque or UV-resistant finish is safer than unprotected gloss. Ask for a material sample when the surface, weight and cleaning method matter as much as the picture.
Prepare files for the chosen finish
Match the artwork to the substrate rather than expecting one layout to fit every option. Ceramic or glossy resin rewards saturated colour and a smooth edge; natural timber introduces visible grain and suits warm, restrained images; acrylic can create a crisp, modern look; slate feels tactile and darker, so pale artwork may need stronger contrast. Check whether the coaster is dishwasher safe and how moisture will affect wood in humid coastal homes.
Supply the format requested by the maker, with the resolution, margins and colour profile clearly named. Keep faces and important details away from edges that may be trimmed, and avoid placing critical text close to the perimeter. Before ordering a complete run, read about ordering prints locally to understand why consistent calibration, professional proofing and reliable communication can improve the final result across a coordinated set.
Coordinate the coasters with nearby décor
Hardware and finishes should share a quiet relationship with the room. Brushed metal, oiled timber, painted MDF and matte black each suit different tables, while an overly glossy coaster can look jarring beside matte furniture. Test the colours in daylight and lamplight, and keep the coaster design simpler than the strongest pattern in the room so it remains a focal detail rather than visual clutter.
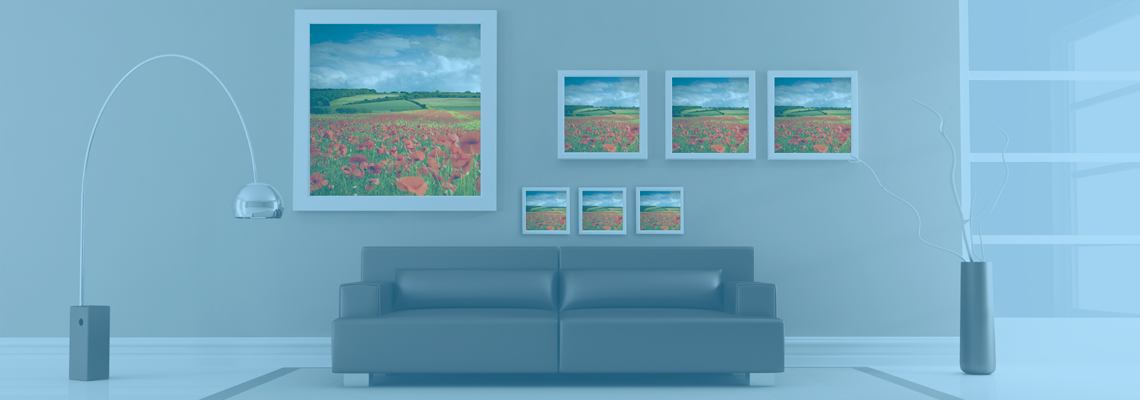
If a larger portrait or print will hang above the same table, use its palette and frame as a reference. Advice on choosing the perfect frame can help match scale, matting and finish without making the two displays compete. The coasters should complement the wall piece, not duplicate it; different crops or a shared colour family will create continuity while preserving separation.
Proof, order and place the finished set
Order one sample or a small proof first, wherever the supplier allows it. Inspect it for edge coverage, colour shifts, sharpness, surface marks and comfortable weight, then place it on the intended table. A photograph that looks refined on screen can reveal a weak crop or distracting hotspot in physical form. This trial also lets you confirm that the image size feels proportionate to a cup and a standard coaster.
Before paying, confirm the quantity, dimensions, crop, finish, packaging, delivery method and revision policy in writing. For a purchase from an Australian business, the Australian Consumer Law requires goods and services to be of acceptable quality and fit their intended purpose; protections for overseas purchases depend on the transaction and supplier, so local consumer-rights advice is sensible for cross-border orders. Customers should therefore confirm The Photo Place’s production specifications before an international order proceeds.
Allow realistic time for production, tracked international delivery and any customs or carrier delays. Secure the parcel on arrival, check each coaster for transit damage and compare the colours with your approved proof. Clean the table, level the coasters and use them with the finished side upward; keeping a spare nearby is useful when the table also hosts crafts, remote controls and everyday clutter.
A coherent custom photo coaster set comes from editing for the small viewing distance, not simply placing several favourite pictures on identical discs. Choose one subject or palette, crop every image around a strong focal point, test the actual material, and check the final colours in the room’s light. The practical takeaway is to approve a physical proof before producing the full set, then arrange the coasters with enough space for real life.