Film Shooting Tips For Clean, High-Quality Digital Prints
Film photographs have a distinctive character, but the negative is only the beginning of the finished image. To create sharp digital files and attractive prints, you need to expose, store and prepare the film with scanning in mind. Small choices made at the camera can affect grain, colour, shadow detail and how well the image enlarges.
This matters whether you are photographing a Melbourne laneway, a Sydney family gathering or a weekend on the Queensland coast. A frame that looks pleasing on a contact sheet may reveal soft focus, blocked shadows or distracting dust when it becomes an A3 print.
Film also responds differently to bright Australian conditions. Harsh midday sun, pale beach sand and strong reflected light can fool a camera meter, while humidity and heat can affect film before it reaches the lab. A considered shooting routine gives your negatives the best chance of producing clean scans.
The goal is not to remove the personality of film. It is to preserve its texture while giving the scanner enough information to produce a balanced digital image. The following techniques help photographers create negatives that are easier to scan, edit and print.
Choose Film With Scanning In Mind
Start by matching the film stock to the subject, lighting and intended print size. Fine-grain colour negative film is a practical choice for portraits, travel photographs and enlargements because it generally captures smooth skin tones and supports detailed scans. Slower films, such as ISO 100 or 200, can be excellent in bright daylight when the camera is steady.
Higher-speed film is useful for concerts, indoor gatherings and evening street photography, but it usually brings more visible grain. Grain is part of the analogue look, yet it can become prominent when a small negative is enlarged. If you plan to make large-format prints, choose the cleanest film speed that still allows a reliable shutter speed.
Check whether you are using colour negative, black-and-white or slide film. Each has a different exposure tolerance and processing method. Colour negative film is often forgiving when highlights are slightly overexposed, while slide film demands much more precise metering. Always confirm the film’s recommended ISO rather than assuming that every roll should be rated at its box speed.
Expose For The Negative
A well-exposed negative gives the scanner useful detail across the tonal range. With colour negative film, a little extra exposure can often preserve shadow information, but excessive overexposure may wash out highlights and reduce colour separation. Use your camera’s meter as a guide and take a reading from the main subject rather than a bright sky or reflective surface.
Backlighting deserves special attention. When photographing someone in front of a window, ocean or bright sky, the meter may underexpose the face. Move closer, meter from the subject’s skin or use exposure compensation if your camera provides it. For important portraits, bracket a frame by one stop in either direction when the film budget allows.
Keep an eye on shutter speed as well. A correctly exposed photograph can still scan poorly if camera shake makes it soft. As a general handheld guide, use a shutter speed at least as fast as the reciprocal of the lens focal length, then increase it for moving subjects. In a dim Brisbane restaurant, a faster film may produce a better file than a slower film used at an unsafe speed.
Control Contrast In The Scene
Film can record a pleasing range of tones, but extreme contrast still causes problems. A person standing in direct sun beside a deep doorway may have a bright forehead and unreadable clothing in the same frame. Look for open shade, softer side light or a position where the subject and background receive similar illumination.
Early morning and late afternoon often provide gentler light for landscapes, architecture and family portraits. Overcast conditions around Adelaide or Canberra can be especially useful for even skin tones and subtle colour. If you must shoot in strong midday light, turn the subject away from the sun or use a nearby wall to reflect light back into the shadows.
A simple habit is to inspect the brightest part of the scene before pressing the shutter. If it contains important texture, change your angle or exposure. If the highlight is only a small reflection on water or chrome, it may be acceptable to let it clip. The key is deciding which details must survive the scan.
Keep Film Clean, Flat And Protected
Dust, fingerprints and scratches are among the most avoidable causes of poor film scans. Handle exposed rolls by the edges, keep them in their containers and avoid opening the camera back until the film has been fully rewound. Do not leave a loaded camera in a hot car during a long summer drive between Sydney and the Central Coast.
After processing, store negatives in archival sleeves in a cool, dry place. Avoid damp cupboards, garages and areas exposed to fluctuating temperatures. Australian humidity can encourage mould, particularly when negatives are stored in sealed plastic without adequate protection. Allow film to acclimatise before placing it into a storage sleeve if it has come from a very cold or humid environment.
Keep negatives flat and labelled with the date, film type and subject. A scanner can correct some colour variation, but it cannot restore emulsion scratched by careless handling. If you are sending film through the post, use a rigid envelope and protect the canisters from crushing. Good storage preserves both the original negative and the option to order new prints years later.
Use Filters And Colour Deliberately
A UV or clear filter rarely improves a digital scan by itself, but a clean, high-quality filter can protect the front element during travel. Remove any filter that creates flare or ghosting, especially when photographing toward the sun. A lens hood is often a more useful form of protection and can improve contrast in bright conditions.
Colour film is sensitive to the colour of the light. Shade can produce a cool blue cast, while indoor tungsten lighting may appear strongly orange on daylight-balanced film. You can embrace those effects for atmosphere, or use a conversion filter and test the result before committing to a full roll.
For black-and-white photography, coloured filters change how tones are rendered. A yellow filter can slightly darken blue skies, while an orange or red filter creates a stronger separation between clouds and sky. Remember that filters reduce the amount of light reaching the film, so compensate by opening the aperture or slowing the shutter according to the filter factor.
Compose For The Final Print
A scan preserves the proportions of the original negative, but your preferred print size may use a different aspect ratio. A standard 35mm frame is wider than many popular square or social-media formats, and an image may need cropping for an album, frame or wall display. Leave a little breathing room around important subjects when the final use is uncertain.
Look for uncluttered backgrounds and strong edge control. Bright signs, poles and stray branches can become more distracting in a detailed scan than they appeared through the viewfinder. Move your feet, simplify the background and check the corners before making the exposure.
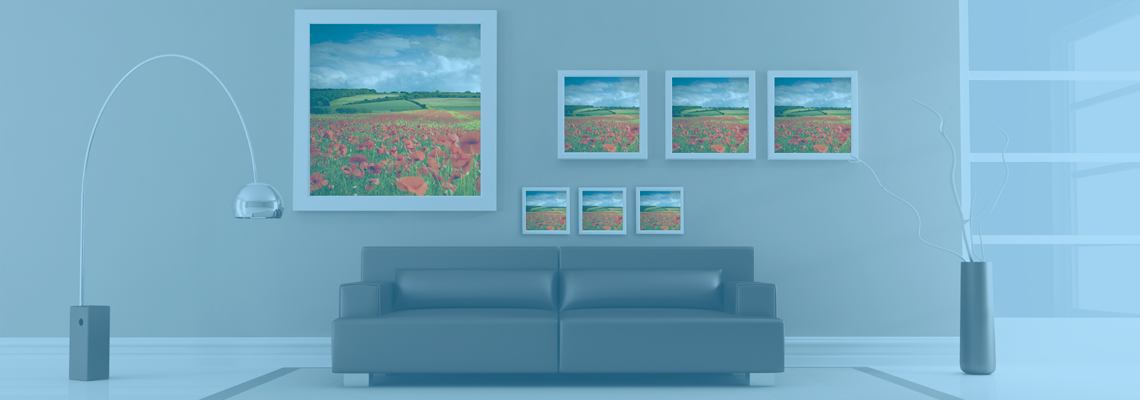
Think about how photographs will be viewed together. A set of images from a backyard wedding, for example, benefits from consistent orientation, exposure and spacing. Ideas for displaying related images can be found in this guide to wedding photo collages, especially when individual film frames will become part of a larger arrangement.
Build A Reliable Scanning And Print Workflow
When the roll is processed, request scans at a resolution suited to the final use. Small digital files may be adequate for online sharing, while larger files provide more flexibility for cropping and printing. Ask how the files will be delivered and whether basic colour correction is included, since scanning settings and output standards vary between labs.
Review the scans at full size before ordering enlargements. Look for focus, dust, colour balance and unwanted borders, then make restrained adjustments. Excessive sharpening can make grain appear harsh, while heavy noise reduction may erase fine texture. If you have boxes of family negatives, a professional shoebox scanning service can turn an unorganised archive into usable digital files.
| Shooting choice |
Likely scan result |
Best use |
| ISO 100–200 in bright light |
Fine grain and strong detail |
Landscapes, portraits and enlargements |
| ISO 400 in mixed conditions |
Balanced speed and visible grain |
Travel, family events and street photography |
| ISO 800 or faster indoors |
More flexibility with shutter speed |
Concerts, parties and low-light scenes |
| Careful metering in backlight |
Better shadow detail on the subject |
Portraits and window-lit scenes |
| Clean, protected negatives |
Fewer dust marks and scratches |
Archiving, editing and repeat printing |
A Practical Roll Checklist
- Confirm the film type, speed and camera settings before leaving home.
- Check focus, shutter speed and bright highlights before each important exposure.
- Keep the camera and unused film away from excessive heat and moisture.
- Rewind the roll completely and label it before sending it for processing.
- Inspect the scan at full size before ordering a large print or framed product.
A successful film print begins with a negative that contains usable detail, consistent focus and manageable contrast. By choosing an appropriate film speed, metering carefully and protecting the processed roll, you make the scanning stage far more predictable. The next step is to load one roll, record the conditions in a notebook and have the negatives scanned with a print size in mind.